Helpful Hints - How to Crop Wedding Photos
As a very experienced San Francisco City Hall wedding photographer (over 20 years of professional experience), I have formulated some strong opinions on the best ways to crop wedding images of all kinds. This applies to both large weddings and city hall weddings. In fact, I have always felt that the proper cropping of an image is one of the major factors in the ultimate beauty of the final product. I also think that the drama and impact that a wedding photo has to the viewer is heavily influenced on how the photo is presented. This means that cropping the photo is a very important, but often overlooked attribute to any final image. When we edit photos for our SF City Hall couples we crop every single photo! Click the link to see an excellent guide on Cropping Ratios.
Here Are My 6 Top Tips for Cropping Wedding Photos
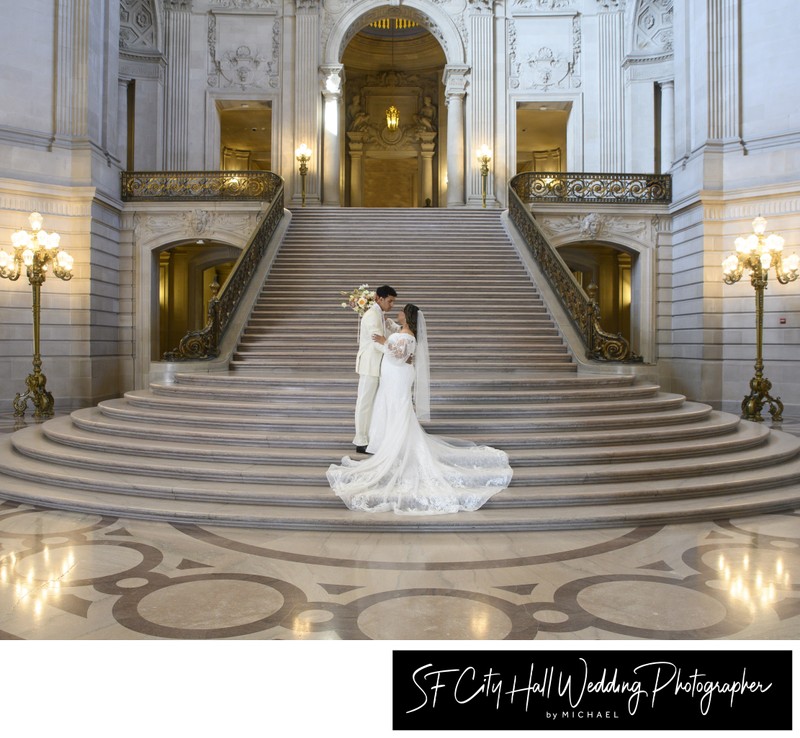
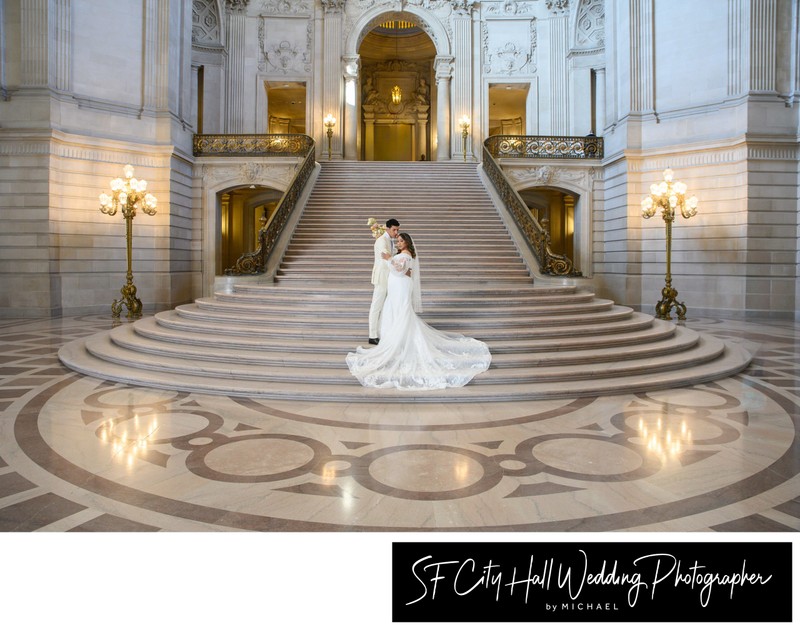
- Match the Cropping Ratio to the Image - The standard crop ratio for professional cameras is 2:3. For cell phones it's 16:9. In my opinion, every wedding photo taken has a appropriate crop ratio that makes it look the best. It is not always about eliminating unneeded space around the main subject. Sometimes you don't really know what the best crop ratio is until you try it on a particular image. For panoramic images that show the architecture at San Francisco City Hall or any wide view, I prefer the 16:9 ratio. For full length photos of the bride and groom the standard crop of 2:3 works quite well. If you are cropping a headshot or even a close up image of the bride and groom, I tend to like the 4:5 crop ratio the best. As mentioned above, I think that you really have to try the crop out on each photo to see which ratio works the best. A panoramic crop also brings you in closer to the couple. The only issue with the 16:9 ratio crop is that it is not a popular ratio for prints or enlargements. In addition, you will not find frames very easily for this type of crop. Please read below where I discuss this in more detail.
- Cropping for Enlargements or Prints - This is where it becomes a little complicated. Unfortunately, different sized prints and enlargements have various crop ratios. Whoever invented the popular print sizes did not take into consideration any kind of consistent crop ratio. Virtually none of them are the same. An 8x10 which is the most popular medium sized enlargement is a 4:5 crop ratio. Often times when you try to convert a standard vertical 2:3 ratio image to an 8x10 print you lose some of the photo at the top and the bottom. This can obviously cause problems if you were not planning for it ahead of time. When I capture my family portrait photos, I try to keep this in mind by allowing plenty of headroom above the main subjects. This allows me to crop the image later and makes it work in any size my client wants for a print. It is even more challenging to use a cell phone image to make an 8x10 and it often doesn't work at all. The so-called snapshot size which is a 4x6 print works perfectly with a standard Pro Camera crop ratio. Anything larger than a 4x6 such as a 5x7, 8x10, or 11x14 will have to be cropped in order to fit. So my helpful hint is to allow plenty of room above and below (for vertical oriented photos) the image if you are planning enlargement prints. This is especially true if you taking pictures with a cell phone.
- Crop in for drama and feeling - Whenever I am editing my San Francisco City Hall wedding photos I make decisions for the proper crop based upon what I see in the image. If I am in the process of taking full length photos of the newlyweds, but notice that an emotional or funny moment has occurred, this is my cue to crop that particular photo in tight. In most cases, I will have captured multiple shots of the same pose so this will give me the option to do that. In my example above, my main goal was to show the complete outfits of the bride and groom in that particular location. However, after noticing that the couple looked at each other and started laughing, I decided to go with a really tight crop to show the emotion. I will also always crop a photo in tightly if I notice a romantic expression on the couple's faces. This is done because I want that expression to be the center point of the image. If I am just getting a simple smile from the couple I will most likely stick with the full length crop. If something special is happening between the couple in a romantic way this is the perfect opportunity to crop it in tight. In this situation the couple's expressions supersede the SF city hall architecture (as beautiful as it is).
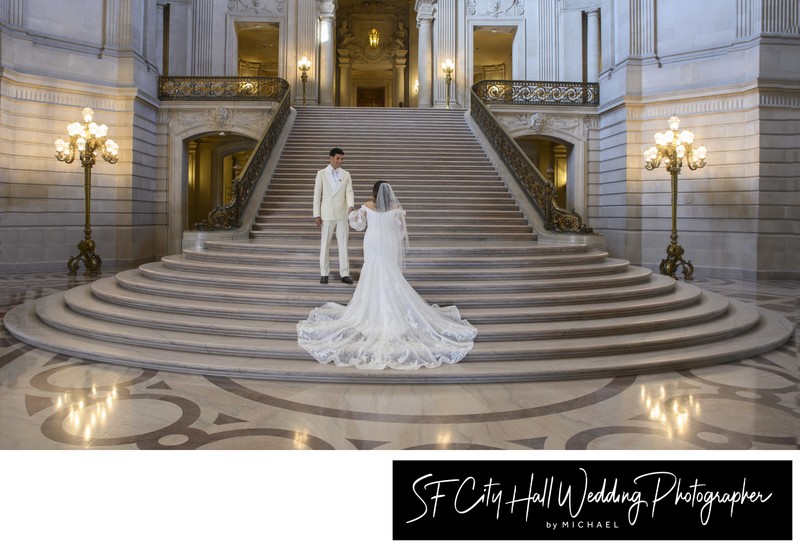
- Crop out for displaying background or formal attire - When trying to display the beautiful attire that brides and grooms are wearing, it's very important to keep the photos full length and not cut them off at the waist or knees. In these types of photos, we are trying to show the outfits in detail. This includes turning the bride around and spreading her train or Veil on the floor and making sure to show the whole thing. There is nothing worse then a picture of a bride in her wedding dress and the train is cut off halfway. This same rule also goes for wedding pictures where the background is beautiful. Especially when it comes to San Francisco City Hall architecture. It's important to not cut off parts of the background that need to show. One example is San Francisco city hall's famous Grand Staircase. If possible, we want to show the whole staircase so you can really see the beautiful architecture. The rounded edges are one of the attributes that standout for the staircase, they should be displayed in some of the photos. In other places throughout City Hall there are patterned designs in the background. Here again, it's important to not cut the photo off in the wrong place. There is plenty of room in a San Francisco City Hall wedding photography session to show both types of looks (close up and far away) depending on what we are trying to capture in the image. Beau-Arts architecture is known for repeating lines, symmetry, and lots of arches. It would be a shame to cut any of these backgrounds off when doing the cropping because you lose the effect. However it's also important not to send a client all the same types of faraway images.
- Crop in to eliminate unwanted content - During any San Francisco City Hall photo session there is going to be items in the background that we do not want to show. A primary example of this are other people. This includes tourists, strangers, and other brides and grooms with their wedding photographers. So when capturing these moments it is inevitable that some of these things will show up in the frame. It is usually pretty easy to eliminate this unwanted content by simply cropping it out. The crop ratio I use for this will depend on the overall image and how much I'm trying to eliminate in the background. So I can't really generalize here and say what operation works the best but in many cases sticking with the 2:3 ratio works the best. It's just a matter of tightening up the crop until the unwanted information is eliminated. Besides unwanted people at City Hall, we also have to deal with exit signs, garbage cans, and things that people leave lying around. Again, it's usually just a matter of using a tighter crop to not show these unwanted things. Note: With the new AI technology it is becoming easier and easier to remove some of these distracting items just using photoshop and not having to crop.
- Try non-standard crops to add drama and fun to wedding pictures - creative cropping can add an element of drama to a photo by doing something out of the ordinary. For example, panoramic crops that are wide and not tall really make a photo look different. As mentioned above, a 16:9 crop is great for architecture, but it also can be great for a large wedding party photo where you just want to show the Bridesmaids from the waist up. Using a 16x9 or even 16X8 crop brings the viewer in real close and only allows you to see their bouquets, for example. Sometimes a square crop is appropriate and really gives a different look. It's a crop that people aren't used to seeing anymore despite the fact that this used to be the standard for professional wedding photography. Any of us wedding photographers who used Hasselblad's for their professional camera can attest to the great advantages of shooting everything Square. This square format crop allows us to crop either horizontally or vertically. This provides a great advantage and flexibility when editing photos. Unfortunately, this no longer is really relevant from a camera standpoint, but the rules are still true. If you back up enough when taking a picture, it allows you to crop either vertical or horizontal.
See Below for Examples of Different Crop Ratios with Similar Images


Not Just for City Hall Wedding Photography
The rules above don't just apply to wedding photography. We follow these same guidelines for all the other portrait photography that we do. City Hall, in particular really can benefit with the use of appropriate cropping ratios. Whether we are capturing family portrait photos or doing a Quince Photo Session, it really makes a difference.
